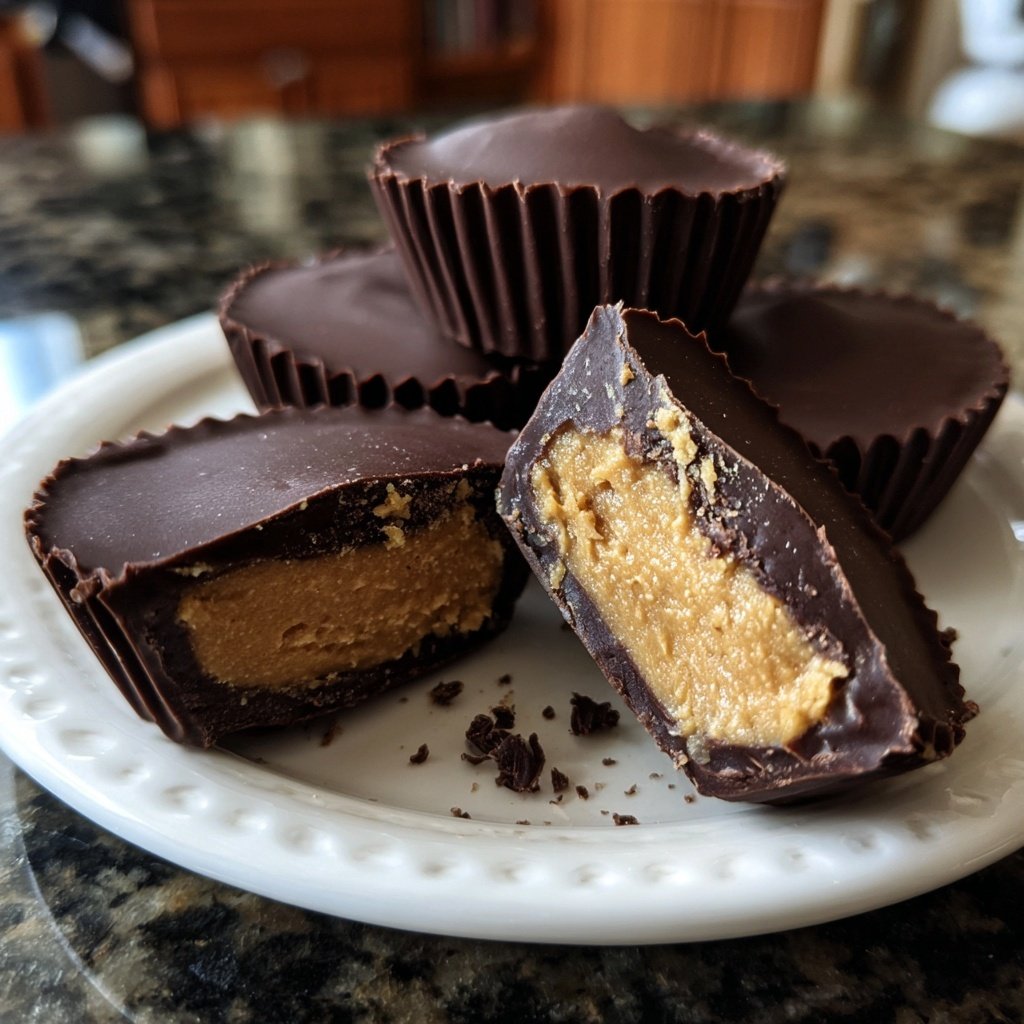
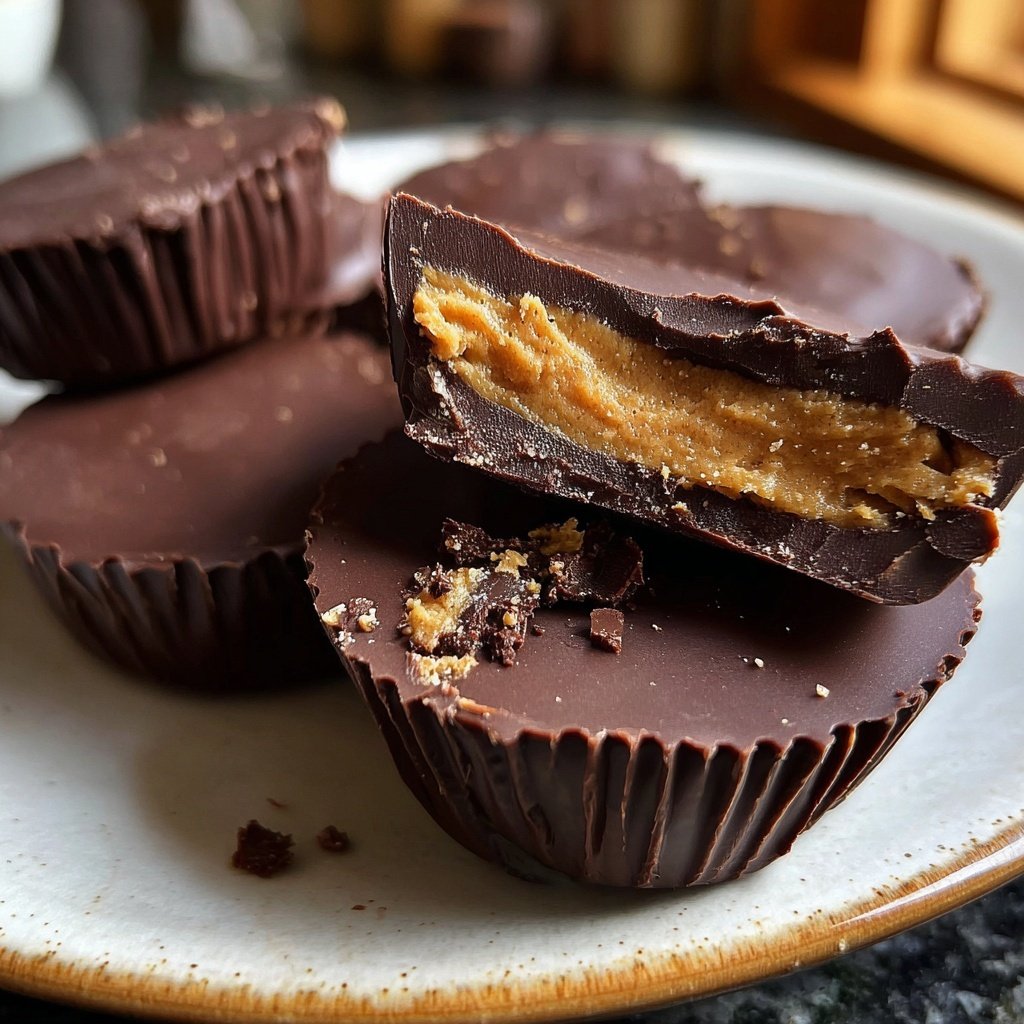
Homemade Peanut Butter Cups with Dark Cocoa
Uitgelicht onder: Favoriete zelfgebakken lekkernijen
I love making these Homemade Peanut Butter Cups with Dark Cocoa because they bring back childhood memories of sweet treats. The process of melting the chocolate and creating that creamy peanut butter filling is so satisfying. Plus, I enjoy knowing exactly what goes into my snacks! These cups are perfect for satisfying my sweet tooth while still being somewhat guilt-free, thanks to the use of dark cocoa. Trust me, once you take a bite, you won't want to go back to store-bought snacks.
When I first decided to make these Homemade Peanut Butter Cups, I wanted to replicate the flavor of my favorite store-bought versions but using high-quality ingredients. The rich dark cocoa pairs so wonderfully with the creamy peanut butter that I can hardly resist these little treats. I found that using a silicone mold makes it incredibly easy to pop them out after they’ve set, which is a game changer!
What I love most is that I can customize the sweetness and even try different nut butters, depending on what I have on hand. The result is not only delicious but also perfectly tailored to my taste. These little cups are always a hit at gatherings and can be made in advance—perfect for meal prepping some healthy snacks!
Why You'll Love This Recipe
- Rich chocolate flavor paired with nutty peanut butter
- Silky-smooth texture that’s perfectly balanced
- Easy to make and customizable for any occasion
Understanding the Ingredients
The key to achieving richness in your Homemade Peanut Butter Cups lies in the choice of cocoa powder. Dark cocoa not only enhances the flavor profile but also contributes to the decadent color and depth of each cup. I recommend using high-quality unsweetened cocoa powder to avoid any bitterness while ensuring that luscious chocolate flavor that pairs perfectly with the creamy filling.
Coconut oil plays a crucial role as a setting agent in these cups. When melted and combined with cocoa, it creates a glossy finish that solidifies beautifully in the fridge. If you're looking for a substitute, you could use palm oil or refined vegetable oil, but coconut oil really gives a unique texture and adds a subtle coconut flavor to enhance the overall taste.
Mastering the Technique
For the best results, ensure that your chocolate mixture is smooth before pouring it into the molds. If you notice any lumps, reheat gently over low heat while stirring until melted and uniform. This step is vital for a smooth chocolate layer, leading to a better overall texture when biting into your peanut butter cups.
When it’s time to set the chocolate layers, be patient! Putting the filled molds in the fridge for the recommended time will help each layer solidify properly. I find that a minimum of 20 minutes is ideal; feel free to leave them longer for a firmer cup. Just ensure they are not left too long or they might become overly hard and difficult to bite into.
Ingredients
For the Cups
- 1 cup dark cocoa powder
- 1/2 cup coconut oil, melted
- 1/4 cup maple syrup
- 1/4 teaspoon sea salt
For the Filling
- 1 cup natural peanut butter
- 2 tablespoons honey or maple syrup
- 1/2 teaspoon vanilla extract
Mix all the ingredients together until well combined before moving to the next step.
Instructions
Prepare the Chocolate Mixture
In a mixing bowl, whisk together the melted coconut oil, dark cocoa powder, maple syrup, and sea salt until smooth and fully combined.
Mold the Bottom Layer
Pour a small amount of the chocolate mixture into each cup of a silicone mold, just enough to cover the bottom. Place in the fridge for 10 minutes to set.
Make the Filling
In another bowl, mix the peanut butter, honey, and vanilla extract until creamy. Take the chocolate cups out of the fridge and add a spoonful of the filling on top of the set chocolate layer.
Top with Chocolate
Cover the peanut butter filling with more of the chocolate mixture, ensuring each cup is filled. Return the mold to the fridge and let it set for at least 20 minutes.
Serve and Enjoy
Once set, carefully pop the peanut butter cups out of the mold and enjoy! Store leftovers in an airtight container in the refrigerator.
These cups can be stored for up to a week, though they're unlikely to last that long!
Professionele Tips
- For a fun twist, try adding a sprinkle of sea salt on top of the chocolate before it sets for a salted caramel flair.
Storage and Shelf Life
These Homemade Peanut Butter Cups can be stored in an airtight container in the refrigerator for up to two weeks. If you prefer longer storage, consider freezing them. Just layer parchment paper between the cups before placing them in a freezer-safe container to prevent sticking. They can be kept in the freezer for up to two months. When you’re ready to enjoy them, simply take them out and let them thaw at room temperature for about 10-15 minutes.
When storing, be cautious of humidity. Any moisture can cause the chocolate to bloom, resulting in a less attractive appearance. Using a sealed container will help maintain optimal freshness and texture, ensuring that each bite remains delightful.
Variations to Try
Feel free to customize these peanut butter cups by adding mix-ins or swapping out ingredients! For instance, consider incorporating crushed nuts, like almonds or hazelnuts, into the peanut butter filling for added crunch. You can also try using almond butter or cashew butter as a delightful twist on flavor while keeping the recipe nut-based.
For those who enjoy a hint of spice, sprinkle a pinch of cinnamon or cayenne pepper into the chocolate mixture for an unexpected kick. You can also drizzle melted white or milk chocolate over the set cups for a decorative touch and additional sweetness!
Vragen Over Recepten
→ Can I use almond butter instead of peanut butter?
Yes! Almond butter works great and adds its unique flavor.
→ How do I store the peanut butter cups?
Keep them in an airtight container in the refrigerator for up to one week.
→ Can I make these vegan?
Absolutely! Use maple syrup instead of honey and ensure your chocolate is dairy-free.
→ What can I do if the chocolate is too thick?
If the chocolate mixture seems thick, just add a little more melted coconut oil to achieve your desired consistency.
Homemade Peanut Butter Cups with Dark Cocoa
Gemaakt door: Hannah Lewis
Recepttype: Favoriete zelfgebakken lekkernijen
Vaardigheidsniveau: Intermediate
Eindportie: 12 cups
Wat je Nodig Hebt
For the Cups
- 1 cup dark cocoa powder
- 1/2 cup coconut oil, melted
- 1/4 cup maple syrup
- 1/4 teaspoon sea salt
For the Filling
- 1 cup natural peanut butter
- 2 tablespoons honey or maple syrup
- 1/2 teaspoon vanilla extract
Stappen
In a mixing bowl, whisk together the melted coconut oil, dark cocoa powder, maple syrup, and sea salt until smooth and fully combined.
Pour a small amount of the chocolate mixture into each cup of a silicone mold, just enough to cover the bottom. Place in the fridge for 10 minutes to set.
In another bowl, mix the peanut butter, honey, and vanilla extract until creamy. Take the chocolate cups out of the fridge and add a spoonful of the filling on top of the set chocolate layer.
Cover the peanut butter filling with more of the chocolate mixture, ensuring each cup is filled. Return the mold to the fridge and let it set for at least 20 minutes.
Once set, carefully pop the peanut butter cups out of the mold and enjoy! Store leftovers in an airtight container in the refrigerator.
Extra Tips
- For a fun twist, try adding a sprinkle of sea salt on top of the chocolate before it sets for a salted caramel flair.
Voedingswaarde (Per Portie)
- Calories: 160 kcal
- Total Fat: 11g
- Saturated Fat: 5g
- Cholesterol: 0mg
- Sodium: 25mg
- Total Carbohydrates: 14g
- Dietary Fiber: 2g
- Sugars: 8g
- Protein: 4g